Windmill
 |
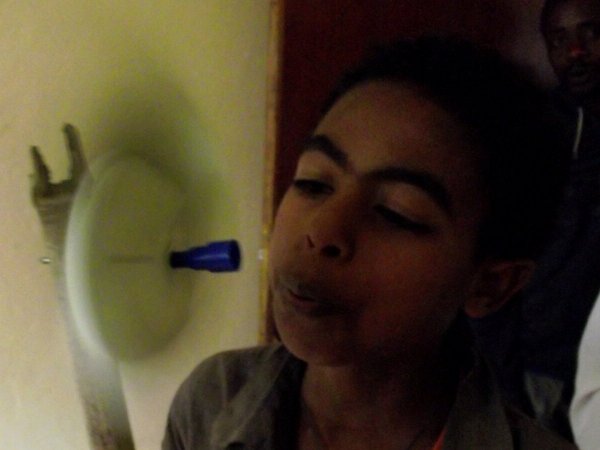
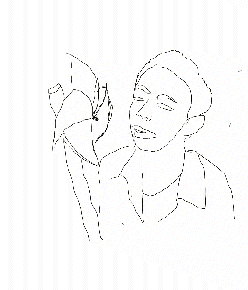
Blow on the sails to make the windmill turn. It will rotate with air movement, whether this is from wind, blowing it or moving it through the air. |
Please download the pdf files for up to date instructions.
Making the toy
1. Make a square piece of paper (fold diagonally and trim if necessary). Draw in the diagonals and mark the position of 4 holes at each corner.

2. Cut along the lines just over half way.

Make holes a little larger than the nail or wire in the 4 edges and the centre.

3. Each corner with a hole can now be moved to the centre.

4. Make 4 beads - these can be seeds, or made from clay, soft wood, etc. These beads should be the size of the nail or wire.

Put a bead on the end of the nail/wire. Push the nail/wire through each of the corner holes. Add 1 or 2 more beads in the middle before pushing the nail/wire through the centre hole at the back.

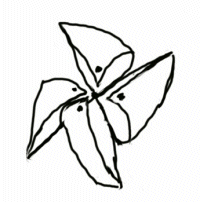
The windmill should look like this.
5. Put the last bead on the end and hammer hammer through a predrilled hole on the end of a stick at least 30cm long.

Cut away view from the side:
Playing with the toy
Blow from the side
Hold at right angle to your body and turn around.
Run with the windmill facing your forward direction.
Face the windmill to the wind so it turns on its own.
Problem solving
Windmill won't turn:
a) The paper is too tight in the holes or
b) The last bead is not large enough and the paper is hitting the stick or
c) The paper is too damp and has not got a good shape, use better paper and keep it dry.
Developing this toy
Make small windmills using a pin and small beads. Or make a larger windmill using cardboard,
Try using plastic instead of paper.
Try rubbing wax over the paper to make it more waterproof, or even paint the paper or card first.
There are many more windmills that can be made, we hope to having a video showing a range of examples.
